
I search etsy a lot too! Not for tutorials, but for cute hair things I really like. Then I will recreate it and try and add a little bit of a spin on it. Sometimes though, I see something and think, "How did they do that?" That is when I search for tutorials on line. There are some I simply just can't find. Or someone wants you to pay for them. I'm cheap guys. I don't like paying for instructions. So there I was staring a a picture of a flower and something clicked. So I tried it and even though it wasn't exactly what the picture looked like, it was pretty darn close. So here is my little tutorial on how to make one of these satin ribbon roses with your own two little hands and a needle and thread.

SUPPLIES
Ribbon ( I used 1 1/2 inch hot pink satin )
needle
thread
First things first you want to take your ribbon and hold it near the end and then create a fold.


See how creating the little fold makes the ribbon cup up on the sides? This is what we want to do. Here is the underside

Now you want to take that needle and thread and make a stitch or two here to hold it together.

Now you want to make another tuck

And another stitch

See how this is forming the walls of the flower now? Keep tucking and stitching. I don't stitch EVERY tuck. But the first 2 or 3 I do. Remember that you want to keep in mind how big you want you flower. I make this outsider circle as big as you want the flower to be or as little as you want the flower to be.

Here a tuck, there a tuck, every where a tuck tuck...and some stitches

Notice now that I have 5 or 6 tucks I have created more walls to my flower. You want to keep making the walls smaller which means making the tucks bigger AND making sure that before you stitch the tuck is making the shape that gives you the wall and not doing something else. Sometimes, I had to retuck ad then stitch.
Eventually you will start to run out of space. This is where you can cut the ribbon and start to make your middle. I kinda scrunched my ribbon up to my liking and then stitched again.


Isn't it pretty?! I love how they come out. My suggestion is the first time you make one don't stitch at all. Just get a feel for how to do it. Then un do everything and then try again and then stitch. I always do this the first time I try something. This way if I screw up, it's not permeant.

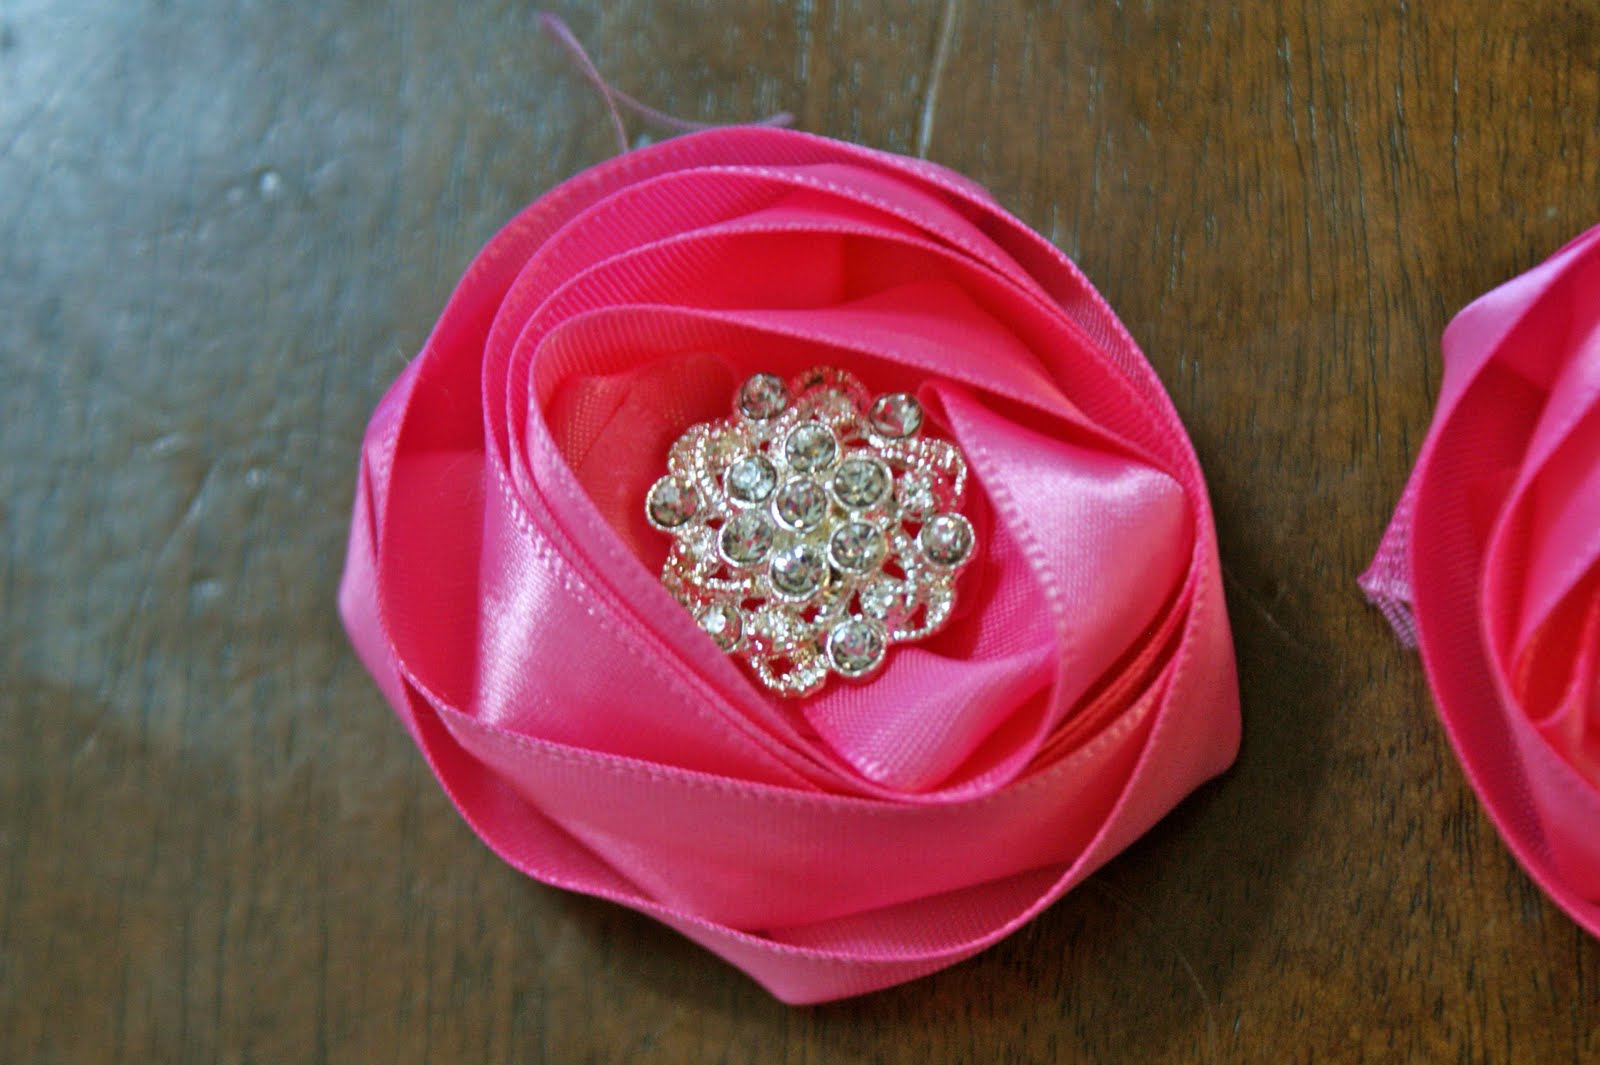
Now you need to do decide what to do with your center. I wanted the center to be hallow so I could attach a huge vintage inspired button that I got at JoAnn's the other day.
My second one I started the outside out smaller. I ended up with a bunch of ribbon that I didn't want to cut off so I scrunched it up cute and sewed it down. Then I added some fake pearls to the center. I love this one too.

I havent' finished the one with the pearls but for the other one I added some russian veiling, guinea feathers and a green felt leaf. I then added it to a elastic headband for a tiny baby. Ain't it cute?


So now go and create! If you have any questions just let me know but it is seriously simple once you try it once or twice. Remember just tuck and stitch. You can't go wrong.
Linking up to some parties


14 comments:
I am going to feature you today so cute! Come and join our link party: http://fabricbowsandmore.blogspot.com/
oh my gosh these are so lovely!!! I can't wait to make some for my friend's babies!
Beautiful!! Looks so expensive. Thank you.
Thanks for the great tutorial! I love how these turned out. I am definitely going to try to make these.
i just tried this and i cant do it. is there a video out there i cant watch?
Very Crafty Mama, I don't have a video but I will try and make one. They are really simply but I can see how it could be difficult to figure out through pictures. I'll work on it when I get a chance. :)
thank you so much. :)
cant wait! Ty
Would love to see you link up at my new party that will run through Sunday!
http://bacontimewiththehungryhypo.blogspot.com/2011/06/party-mindie-style-link-up-1.html
So cute! And thanks for a tutorial, because I cruise etsy for ideas also and refuse to pay for tutorials. :) I appreciate the freebies!
Lovely flowers, and terrific tutorial! I've linked to this in my Saturday Seven lineup this weekend. http://www.positivelysplendid.com/2011/06/saturday-seven-no-15.html
So pretty and such a thorough tutorial. Thank you for the inspiration!
Wonderful, its a beautiful idea to make flowers from ribbons.
Lovely flowers and Thank You for sharing
Cheers from Bangalore ,India
Dr Sonia S V
http://cardsandschoolprojects.blogspot.com
Post a Comment