First I took a 37 in by 3 in strip of fabric
Take your strip of fabric and make a long string of glue down one of the long sides...gotta be fast so the glue doesn't dry.
Then fold the fabric in half and press the sides down together so the glue sticks
Next take the new strip and cut on the folded side alllllll the way down to make petals for the flower
Make these whatever size you want. Try different sizes for different looks. Then you need to start your flower. Add a little glue to the end piece and then roll.
Now work your magic the rest of the way down with the gun and then roll. Glue. Roll. Until you get to the end.
You can make the roll really tight for a fuller flower or make the roll kind lose for a less full flower.
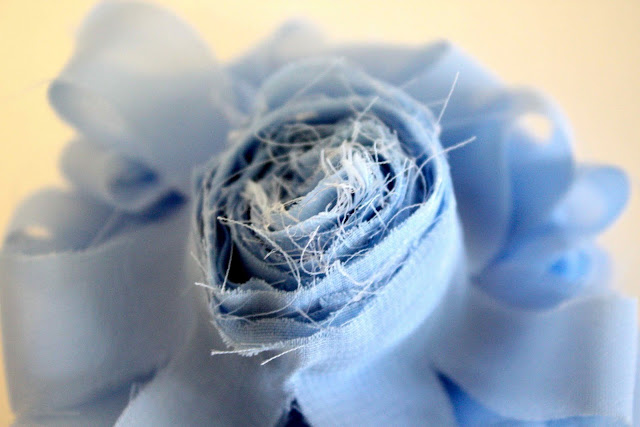
I love the way the end roll looks!
And there you have it! I think it looks really cute by itself or you could add a pretty button or some ribbon in the center
Next I tried it with sewing instead of glue for the first step. I think it actually went faster and was less messy. YOu can do it by hand by with a machine. I'm lazy so I used my machine.
For this flower instead of doing one long strip I decided to do a bunch of shorter strips with different coordinating fabrics. Mess around with the lengths and don't worry about making then too long. You can always cut them if they are too long when you roll them!
I love how colorful it is!
Then I added something to the middle. This is actually a brad for scrap booking but it had great color!
I then decided to make a wider one. I took a piece of thick interfacing and started with the OUTSIDE circle and sewed it down using my machine. You could use the glue too because that would have been just as easy or you could sew it down by hand. Once I was done with one color ( if there was extra I just cut it off ) I just grabbed a new color and started sewing/gluing again!
The center I took the part of the green one I had cut off because it was too long and rolled it and glued it in the center. Again it looks good by itself or with a colorful button in the center!
These are SUPER easy and can look really elegant or really fun depending on the fabric and button you use for the middle! I haven't had time since I made these last week to try new ones with different fabrics. I also want to make some more with a much wider petal. The wider the petal the more the flower kind of looks like a flower you would buy in the wrapping paper section! I love them. Oh how I wish my daughter would let me put things in her hair! Now I either need to gift these or put them in the shop. Someone please convince my daughter to leave something in her hair! Pretty please?!


No comments:
Post a Comment